Tuesday 26 August 2014

Lemon Curd and Fresh Raspberry Filled Macarons

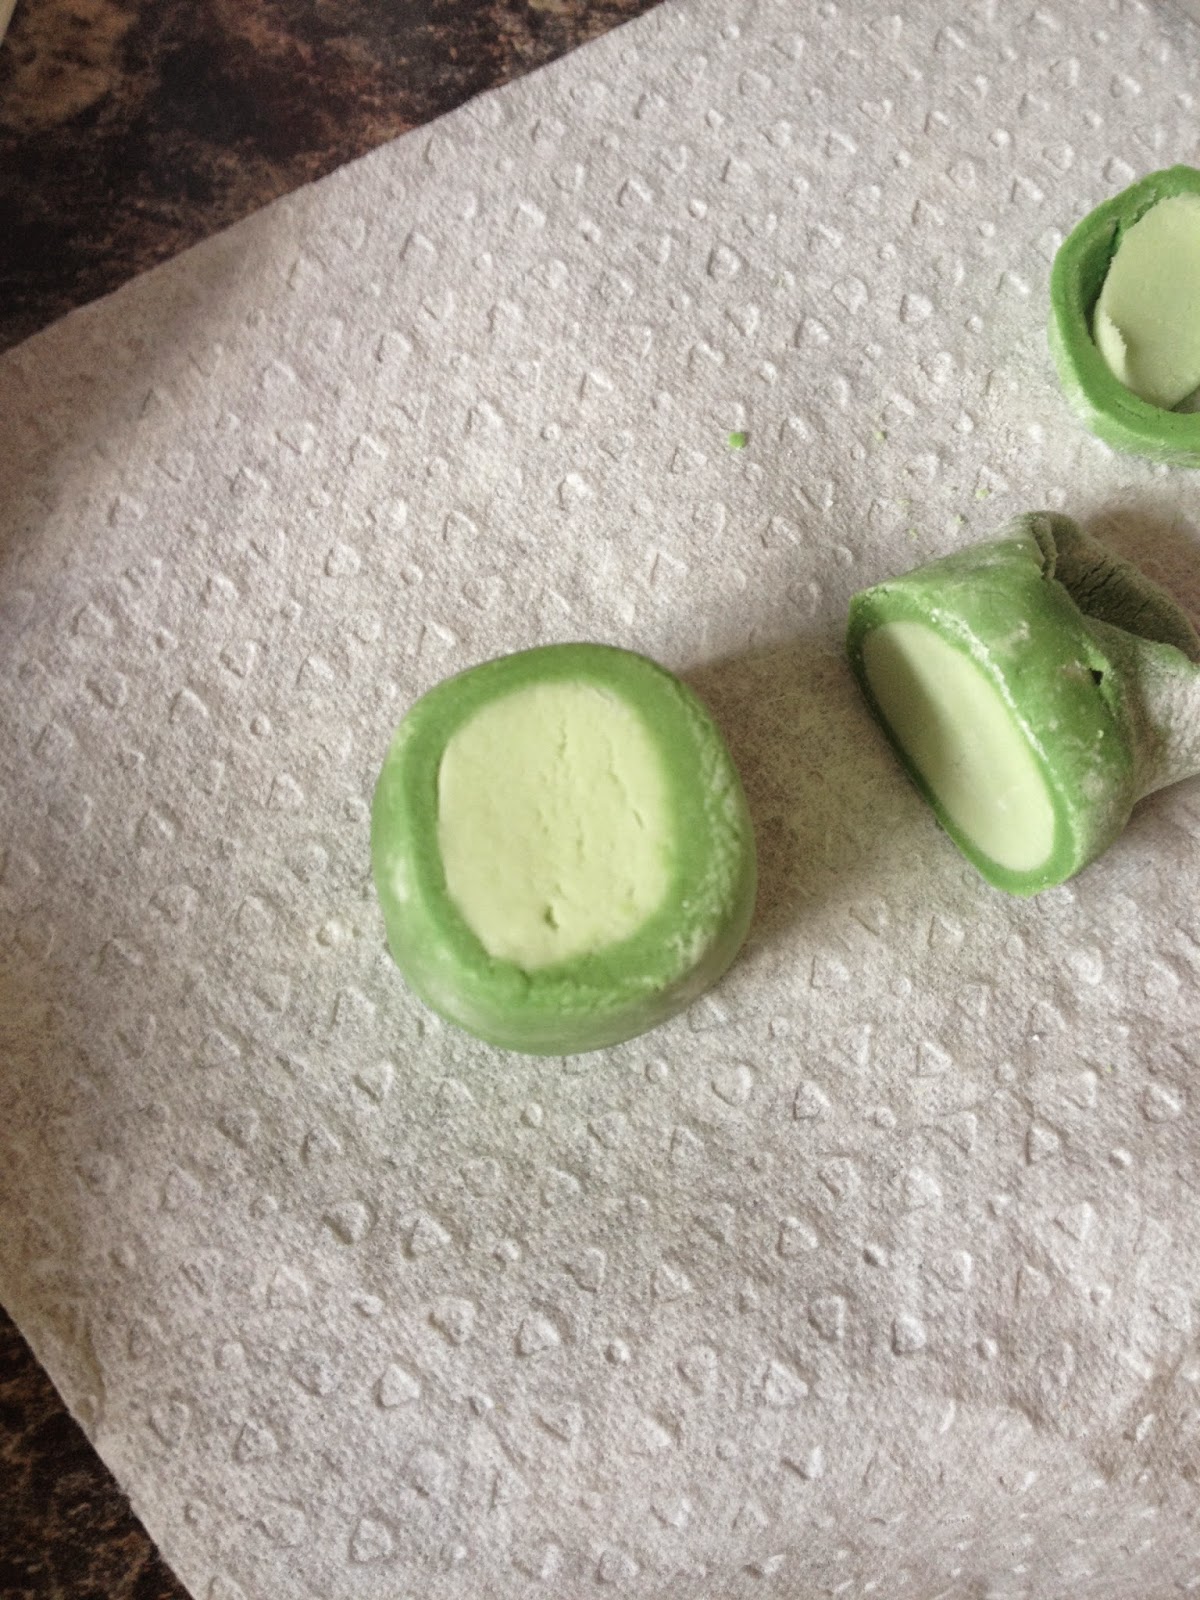
Macarons are a meringue based treat, with a filling in the centre such as jam, ganache or buttercream. They have a smooth top and a ruffled "foot" which gives their characteristic appearance. Recently, they've become a very popular confection, so I thought I'd give them a go!

I have only just started making macarons as I was put off by their reputation as being very difficult. Since macarons are a challenge, this recipe is only a very small adjustment to a basic recipe to create a delicious, zesty treat! I am going to experiment a little more with flavours in future posts, but I thought I'd start off pretty simple and create these fruity ones! 


~
Lemon Curd and Fresh Raspberry Filled Macarons 


Makes 40 shells (20 filled Macarons)

You will need:


Equipment
  • Piping bag with 1cm nozzle
  • 2 baking sheets
  • Non-stick baking parchment  
  • Electric whisk

For the macarons
  • 200g icing sugar
  • 100g ground almonds
  • 3 egg whites
  • A pinch of salt
  • 40g caster sugar
  • 1 unwaxed lemon 
  • Yellow food colouring paste/gel - (N.B. NOT liquid, as it makes the mixture too runny)

For the filling
  • 3 egg yolks
  • 75g caster sugar 
  • 3 tbsp unsalted butter 
  • Grated zest of 1 unwaxed lemon 
  • Juice of 1 lemon 
  • Small punnet of raspberries

Instructions:


For the macaron shells:
  1. Tip the icing sugar and almonds into a food processor and blend for 30s until combined completely. Put this mixture aside. 
  2. Tip the egg whites into a spotlessly clean and dry mixing bowl. Add the salt.
  3. Using an electric whisk, beat until the egg whites just about hold a stiff peak. 
  4. Add the caster sugar a teaspoonful at a time, while continuing to whisk at a medium speed. 
  5. Mix well to ensure that the sugar is thoroughly incorporated. The mix should look glossy, thick and white. 
  6. Wash and dry the unwaxed lemon and finely grate the zest. 
  7. Add this to the egg and sugar mixture along with a very small amount of food colouring. (A good tip is just to dip a cocktail stick into the gel and then into the mixture as you only need the smallest amount, and the macarons look best in pastel shades). Mix thoroughly to ensure an even blend. 
  8. Using a large metal spoon, fold the ground sugar and almond mixture, which was set aside earlier, into the egg whites until completely mixed and smooth.
  9. The mixture should now be in a smooth, molten mass. 
  10. Use the mixture to fill the piping bag. Then, pipe evenly sized rounds about 5cm across onto the baking sheets lined with baking parchment. (Alternatively, you can use a silicon macaron tray as it is often much easier to remove them and ensures evenly and identically sized macarons). 
  11. Tap the bottom of the baking sheets  sharply on the work surface in order to remove any excess air bubbles. 
  12. Leave the macaroons for between 20-40mins until they have set and formed a dry shell. Leave them for longer if they are at all sticky or wet when touched with a dry fingertip.
  13. Preheat the oven to 170oC/Gas 3. 
  14. Bake the macaroons in the middle of the oven for about 10 minutes. They are done when the tops are lightly coloured and crisp. They should easily remove from the baking tray and be dry to touch at the bottom).
  15. Leave the shells to cool on a rack until completely cool. 

For the Lemon Curd:
  1. Place all of the ingredients into a heatproof bowl set above a pan of water which is gently simmering.
  2. Stir until the butter has melted and the sugar has dissolved. 
  3. Continue to stir the mixture continuously for about 15 mins, until the curd has thickened enough to coat the back of a spoon.
  4. Finally, strain the curd through a sieve into a bowl.
  5. Leave to cool, then refrigerate until needed.

Final stage:
  1. Take your cooled macaron shells, fill with a generous layer of lemon curd. 
  2. Add one or two raspberries to the centre and then sandwich the shells together. 
  3. Now they are ready to enjoy! 


Enjoy with afternoon tea or as a yummy picnic dessert. These macarons should keep for a few days, but may start to go soggy beyond that, due to the raspberry juice in the filling. 


Although there is an official Macaron Day (20th March), I recommend eating these all year round! 


Love, Chloe xx


~  Follow me on Twitter @CrumbsCakeBlog

Monday 25 August 2014

Water Polo Themed Birthday Cake


I really enjoyed making this themed birthday cake  for my boyfriend's brother, particularly because I knew very little about water polo before I started!  

Invented in the late 19th century, water polo began as a demonstration of strength and swimming skill. Men's water polo was introduced as a team sport in the modern Olympic games in 1900. The present-day game involves teams of seven players  with a water polo ball similar in size to a football.

The game is fast and furious and sounds pretty violent! Apparently "wedgies" - where players pull up an opponent's swimming costume to cause eye-watering discomfort - are so commonplace in the women's game that some teams, including the Spanish, have taken to giving themselves wedgies before matches in order to prevent them during play... 

Perhaps my little description has filled you with enthusiasm to go and take up water polo as a hobby. However, if like me, giving yourself a wedgie does not particularly appeal, why not just make a nice cake representation of the game and eat it in comfort instead?! 

~
 Water Polo Birthday Cake


You will need:


For the cake:
  • 400g self-raising flour            
  • 400g margarine          
  • 400g caster sugar       
  • 6 eggs
  • A little milk (if required)        
  • 13” cake board           

For the filling:
  • 140g/5oz butter, softened      
  • 280g/10oz icing sugar
  • 1-2 tbsp milk (if required)
  • Strawberry jam           

For decoration:
  • Black food colouring felt tip
  • Red food colouring felt tip
  • 50g Green fondant icing
  • 75g Red fondant icing
  • 600g White fondant icing
  • 50g Orange fondant icing
  • Cocktail sticks
  • 1 yellow gumball
  • Blue gel food colouring
  • Small plastic football goals - (I managed to get mine from Poundland toy section and although they are very small in proportion to the size of the players, it didn't matter too much. You might also be able to find them in specialist cake shops for football cakes)

Instructions:


1). Prepare the cake.
  1. Heat the oven to 180C/350F/Gas 4.
  2. Line two large rectangular cake tins (I used 27cm/22cm) tin with baking parchment
  3. Cream the butter and the sugar together until pale. Use an electric hand mixer if you have one.
  4. Beat in the eggs.
  5. Sift over the flour and fold in using a large metal spoon.
  6. The mixture should be of a dropping consistency; if it is not, add a little milk.
  7. Divide the mixture between the cake tins and gently spread out with a spatula.
  8. Bake for 20-25 minutes until an inserted skewer comes out clean.
  9. Allow to stand for 5 minutes before turning on to a wire rack to cool.

2). Prepare the butter cream.
  1. Beat the butter in a large bowl until soft.
  2. Add half of the icing sugar and beat until smooth.
  3. Add the remaining icing sugar and one tablespoon of the milk and beat the mixture until creamy and smooth.
  4. Beat in the rest of the milk, if necessary, to loosen the mixture to a spreading consistency.

3). Stick the cake to the board using a little of the buttercream
  • Fill the overlap between the two layers with a layer of buttercream and a layer a jam.


4). Ice the cake with fondant 

If you're unsure of how to do this stage there are some really good youtube tutorials giving demonstrations.
  1. Knead a about 500g of white fondant icing until it’s smooth and pliable.
  2. Dust a work surface with icing sugar, and roll the icing out, smooth-side down until it is 3-5mm thick and large enough to cover the top and sides of the cake.
  3. Taking the buttercream you have just prepared, carefully spread a thin layer over all sides of the cake with a spatula.
  4. Carefully roll the icing onto your rolling pin, then unroll it on surface of the cake.
  5. Smooth the icing across the top of the cake and carefully ease it smooth along the sides.
  6. Trim the excess icing, leaving a small border and press smooth against all surfaces of the cake.
  7. Leave the icing to set for 2-3 hours before decorating.


5). Making the players & ball
  1. Combine a small amount of red and orange fondant icing with half of the remaining white fondant.
  2. Knead until smooth and pliable and the colour is uniform. This is going to be the skin colour of the players, so adjust by adding more of any colour if necessary.
  3. Use half this amount to produce 14 identical sized ball shapes. (The remainder will be used to create arms later and should be wrapped in clingfilm until then to prevent drying out).
  4. Divide the ball shapes up into two groups of 7.
  5. Taking the green icing, make 7 small circles (about the shape of a 2p piece) about 3mm thick and dot with a little water. Press each of these onto the top of each ball to create a coloured helmet.
  6. Repeat with the red icing for the other 7 balls.
  7. Add tiny pea sized amounts of fondant to each side of the helmet in the same colour to make the ears. Attach with a small amount of water. 
  8. Next, dot each of the ball shapes with two eyes using the black food colouring felt tips.
  9. Add mouths with the red food colouring pen.
  10. Finally, take the yellow gumball and decorate it with the black food colouring felt tip to look like a water polo ball. My version can be seen in the photo above. 
  11. Leave the players and ball to dry out and firm up until they are needed later.


6). Making the pool
  1. Add a few drops of blue food colouring to the remainder of the buttercream to create the “water.”
  2. Using a spatula, spread the buttercream all over the top of the cake, leaving an inch border all around the edge of the cake.
  3. Next, roll out the remaining white fondant to about 5mm thick, then cut into equal-sized square “tiles.” (I used a pizza cutter to cut a grid into the icing to do this)
  4. Dot the back of each of the tiles with a little water and then stick them around the edge of the cake.


7). Final decoration
  1. Arrange each of the plastic goals at either end of the pool.
  2. Take each of the “players” and press a cocktail stick to about 1cm depth into them. Then taking the other end, press into the cake at various positions.
  3. Now take the excess fondant in the skin shade made earlier and make a number of small sausage shapes – these will be the arms of the players.
  4. Arrange the arms under the players heads in different positions (see final image for guidance).
  5. Finally, press a cocktail stick into the gumball “ball,” which was made earlier and stick the other end into the cake.

~

Now your waterpolo cake is complete!


 Love, Chloe xx 


~  Follow me on Twitter @CrumbsCakeBlog


Wednesday 13 August 2014

Singapore Sling Cupcake

This is the final flavour of cocktail cupcake in the original five, using cherry brandy and gin...

~

Singapore Sling Cupcakes!


The Singapore Sling is a South-East Asian cocktail and was developed sometime before 1915 at the Long Bar in Raffles Hotel Singapore. 

Makes about 12 cupcakes

You will need:


For the cupcakes:
  • 110g/4oz margarine, softened
  • 110g/4oz caster sugar
  • 2 eggs, lightly beaten
  • 110g/4oz self-raising flour
  • 1-2 tbsp milk
  • Zest of 1 orange


For the icing:
  • 140g/5oz butter, softened
  • 280g/10oz icing sugar, plus a little more as required
  • Red food colouring
  • 2 tbsp cherry brandy
  • 2 tbsp gin
  • 1 tbsp grenadine syrup


For the garnish:
  • Straws
  • Yellow sugar crystals
  • Glacé cherries
  • Cocktail sticks
  • Orange fondant icing
  • White fondant icing

Method:

Cupcakes:
  1. Preheat the oven to 180C/350F/Gas 4 and line a 12-hole muffin tin with paper cases.
  2. Cream the butter and sugar together in a bowl until pale.
  3. Beat in the eggs a little at a time.
  4. Fold in the flour using a large metal spoon, adding a little milk until the mixture is of a dropping consistency.
  5. Fold in the orange zest and mix thoroughly.
  6. Spoon the mixture into the paper cases until they are half full.
  7. Bake in the oven for 10-15 minutes, or until golden-brown on top and a skewer inserted into one of the cakes comes out clean.
  8. Set aside to cool for 10 minutes, then remove from the tin and cool on a wire rack. 


Fondant Orange Wedge Garnish:

Unfortunately I forgot to take photos of this stage of production until finished, so I will use the photos from a previous post (Mojito cupcakes). The process is identical, though the dark green in the photo should be substituted with dark orange, and the paler green with paler orange.
~

This needs to be made early so that it can set before used to decorate - a good time is while the cakes are cooking.

  1. Take some of the white icing and combine it with a little of the orange to make a pale orange colour - this will form the inside of the orange wedge.
  2. Take this newly formed colour and roll it into a cylinder
  3. Roll out the orange icing into a layer about 0.5cm thick.
  4. Brush the pale cylinder formed in stage 2 with water and roll along the dark orange icing until entirely covered - you should now have a single cylinder with an outer dark orange and inner pale layer.
  5. Cut the messy ends off to form a neat cylinder shape.
  6. Slice the cylinder with a sharp knife into 0.5cm thick slices.
  7. Cut each slice through the centre to create  half moon shapes.
  8. Finally, using a cocktail stick, press in detail to the pale orange centre to make your orange wedge more recognisable.
  9. Now leave the wedges until they are firm, then they can be used to garnish.


Icing 
  1. For the buttercream icing, beat the butter in a large bowl until soft. Add half the icing sugar and beat until smooth.
  2. Then add the remaining icing sugar until the mixture is smooth and creamy. (If may appear a little dry at this stage, do not worry as there will be more liquid added in the upcoming stages).
  3. Add the food colouring and mix until well combined.
  4. Add the gin, cherry brandy and grenadine, mix well until combined. (At this point taste the icing to check the balance of flavours and adjust by adding more of anything if necessary).
  5. The icing will now be quite runny, so slowly add icing sugar, until the mixture is thick, smooth and creamy.
  6. Spoon the icing into a piping bag with a star nozzle and pipe the icing using a spiralling motion onto the cupcakes in a large swirl.


Decoration:
  1. Sprinkle the yellow sugar over the icing.
  2. Cut the straws down to a miniature size and gently press them into the icing.
  3. Stick a cocktail stick into the same number of cherries as you have cakes. Then press the cocktail stick into the icing.
  4. Finally, garnish with a fondant orange wedge. 


That completes all the varieties of cocktail cupcakes, enjoy! 


Love, Chloe xx


~  Follow me on Twitter @CrumbsCakeBlog

Sex on the Beach Cupcake

This is the penultimate variety in the cocktail cupcake series, and uses vodka and peach schnapps.

~
Sex on the Beach Cupcakes!
 

Sex on the Beach is a delicious and fruity vodka-based drink that is perfect for almost any occasion. There are different variations of the drinks itself, but I've stuck to the recipe which is easiest to replicate in cake form.


Makes about 12 cupcakes

You will need:
 

For the cupcakes:
  • 110g/4oz margarine, softened
  • 110g/4oz caster sugar
  • 2 eggs, lightly beaten
  • 110g/4oz self-raising flour
  • 1-2 tbsp milk
  • Zest of 1 orange

For the icing:
  • 140g/5oz butter, softened
  • 280g/10oz icing sugar, plus a little more as required
  • A few drops of cranberry flavouring (work to taste as different brands have different flavour intensities)
  • A few drops of pineapple flavouring (again, work to taste as different brands have different flavour intensities)
  • Red food colouring
  • Yellow food colouring
  • 2 tbsp peach schnapps
  • 2 tbsp vodka


For the garnish:
  • Straws
  • Red sugar crystals
  • Yellow sugar crystals
  • Glacé cherries
  • Cocktail sticks

Method:

Cupcakes:
  1. Preheat the oven to 180C/350F/Gas 4 and line a 12-hole muffin tin with paper cases.
  2. Cream the butter and sugar together in a bowl until pale.
  3. Beat in the eggs a little at a time.
  4. Fold in the flour using a large metal spoon, adding a little milk until the mixture is of a dropping consistency.
  5. Fold in the zest and mix thoroughly.
  6. Spoon the mixture into the paper cases until they are half full.
  7. Bake in the oven for 10-15 minutes, or until golden-brown on top and a skewer inserted into one of the cakes comes out clean.
  8. Set aside to cool for 10 minutes, then remove from the tin and cool on a wire rack.


Icing
  1. For the buttercream icing, beat the butter in a large bowl until soft. Add half the icing sugar and beat until smooth.
  2. Then add the remaining icing sugar until the mixture is smooth and creamy. (If may appear a little dry at this stage, do not worry as there will be more liquid added in the upcoming stages).
  3. Add the peach schnapps, vodka and pineapple and cranberry flavourings, mix well until combined. (At this point taste the icing to check the balance of flavours and adjust by adding more of anything if necessary).
  4. The icing will now be quite runny, so slowly add icing sugar, until the mixture is thick, smooth and creamy.
  5. Now divide the icing equally into 2 bowls. Add the yellow food colouring to one bowl, and the red to the other. Mix thoroughly until the colouring is fully combined.
  6. Spoon the icing into a piping bag with a star nozzle. Use alternate spoons from each coloured bowl so that the piping bag is full of a mixture of both icings - this will help to create the graduated colour effect seen in a sex on the beach drink.
  7. Pipe the icing using a spiralling motion onto the cupcakes in a large swirl.

Decoration:
  1. Sprinkle both types of coloured sugar over the icing.
  2. Cut the straws down to a miniature size and gently press them into the icing.
  3. Finally, stick a cocktail stick into the same number of cherries as you have cakes. Then press the cocktail stick into the icing to garnish.


Love, Chloe xx


~  Follow me on Twitter @CrumbsCakeBlog

Monday 11 August 2014

Strawberry Daiquiri Cupcake

This type of cupcake is the final rum cocktail of the varieties - Strawberry Daiquiri.

~
Strawberry Daiquiri Cupcakes!


The name daiquiri refers to a family of cocktails traditionally made up of  rum, lime juice and sugar. The strawberry variety is a twist on this classic combination.


Makes about 12 cupcakes

You will need:


For the cupcakes:
  • 110g/4oz margarine, softened
  • 110g/4oz caster sugar
  • 2 eggs, lightly beaten
  • 110g/4oz self-raising flour
  • 1-2 tbsp milk
  • Zest of 1 lime


For the icing:
  • 140g/5oz butter, softened
  • 280g/10oz icing sugar, plus a little more as required
  • Juice of 1 lime
  • A few drops of strawberry flavouring (work to taste as different brands have different flavour intensities)
  • Pink/Red food colouring as desired
  • 3 tbsp white rum


For the garnish:
  • Straws
  • Green sugar crystals
  • Red fondant icing
  • Green fondant icing

 Method:

 Cupcakes:
  1. Preheat the oven to 180C/350F/Gas 4 and line a 12-hole muffin tin with paper cases.
  2. Cream the butter and sugar together in a bowl until pale.
  3. Beat in the eggs a little at a time.
  4. Fold in the flour using a large metal spoon, adding a little milk until the mixture is of a dropping consistency.
  5. Fold in the lime zest and mix thoroughly.
  6. Spoon the mixture into the paper cases until they are half full.
  7. Bake in the oven for 10-15 minutes, or until golden-brown on top and a skewer inserted into one of the cakes comes out clean.
  8. Set aside to cool for 10 minutes, then remove from the tin and cool on a wire rack.


Fondant Strawberry Garnish:
  1. Take a small amount of red food colouring and roll into a cylinder shape.
  2. Slightly squash the cylinder shape at one end so that the cross section is slightly pear-shaped.
  3. Slice through the cylinder to create identical slices, about 0.5cm thick - these will be your strawberry pieces.
  4. Using a cocktail stick, mark the strawberries with dots to appear like seeds.
  5. Take small amounts of green fondant and attach to the top using a little water - these will be the leaves.
  6. Leave the strawberries to dry and become firm, ready to garnish later.


Icing:
  1. For the buttercream icing, beat the butter in a large bowl until soft. Add half the icing sugar and beat until smooth.
  2. Then add the remaining icing sugar until the mixture is smooth and creamy. (If may appear a little dry at this stage, do not worry as there will be more liquid added in the upcoming stages).
  3. Add the food colouring and mix until well combined.
  4. Add the lime juice, rum and strawberry flavouring, mix well until combined. (At this point taste the icing to check the balance of flavours and adjust by adding more of anything if necessary).
  5. The icing will now be quite runny, so slowly add icing sugar, until the mixture is thick, smooth and creamy.
  6. Spoon the icing into a piping bag with a star nozzle and pipe the icing using a spiralling motion onto the cup cakes in a large swirl.


Decoration:
  1. Sprinkle the coloured sugar over the icing.
  2. Cut the straws down to a miniature size and gently press them into the icing.
  3. Finally, garnish with the fondant strawberry.


Little bit of trivia for you... 

The basic recipe for a daiquiri is similar to the grog British sailors drank aboard ship. By 1795 the Royal Navy daily grog ration contained rum, water, ¾ ounce of lemon or lime juice, and 2 ounces of sugar. 

Enjoy your grog cupcakes!


Love, Chloe xx


~  Follow me on Twitter @CrumbsCakeBlog

Mojito Cupcake

Following on from the last post, this is the second flavour of cocktail cupcake - Mojito!

Mojito Cupcakes


A mojito cocktail is the perfect summer drink with its refreshing combination of mint and lime... why not make it the perfect summer cupcake? 


Makes about 12 cupcakes

You will need:

For the cupcakes:
  • 110g/4oz margarine, softened
  • 110g/4oz caster sugar
  • 2 eggs, lightly beaten
  • 110g/4oz self-raising flour
  • 1-2 tbsp milk
  • Zest of 1 lime

For the icing:
  • 140g/5oz butter, softened
  • 280g/10oz icing sugar, plus a little more as required
  • Juice of 1 lime
  • A few drops of mint flavouring (work to taste as different brands have different flavour intensities)
  • Green food colouring as desired
  • 3 tbsp white rum


For the garnish:
  • Straws
  • Green sugar crystals
  • White fondant icing
  • Green fondant icing
  • Sprig of  mint (optional)

Method:
 

Cupcakes:

  1. Preheat the oven to 180C/350F/Gas 4 and line a 12-hole muffin tin with paper cases.
  2. Cream the butter and sugar together in a bowl until pale.
  3. Beat in the eggs a little at a time.
  4. Fold in the flour using a large metal spoon, adding a little milk until the mixture is of a dropping consistency.
  5. Fold in the lime zest and mix thoroughly.
  6. Spoon the mixture into the paper cases until they are half full.
  7. Bake in the oven for 10-15 minutes, or until golden-brown on top and a skewer inserted into one of the cakes comes out clean.
  8. Set aside to cool for 10 minutes, then remove from the tin and cool on a wire rack.


Fondant Lime Wedge Garnish:

This needs to be made early so that it can set before used to decorate - a good time is while the cakes are cooking.

  1. Take some of the white icing and combine it with a little of the green to make a pale green colour - this will form the inside of the lime wedge.
  2. Take this newly formed colour and roll it into a cylinder
  3. Roll out the green icing into a layer about 0.5cm thick.
  4. Brush the pale cylinder formed in stage 2 with water and roll along the green icing until entirely covered - you should now have a single cylinder with an outer green and inner pale layer.
  5. Cut the messy ends off to form a neat cylinder shape.
  6. Slice the cylinder with a sharp knife into 0.5cm thick slices.
  7. Cut each slice through the centre to create  half moon shapes.
     
  8. Finally, using a cocktail stick, press in detail to the pale green centre to make your lime wedge more recognisable.
  9. Now leave the wedges until they are firm, then they can be used to garnish. 

Icing:
  1. For the buttercream icing, beat the butter in a large bowl until soft. Add half the icing sugar and beat until smooth.
  2. Then add the remaining icing sugar until the mixture is smooth and creamy. (If may appear a little dry at this stage, do not worry as there will be more liquid added in the upcoming stages).
  3. Add the food colouring and mix until well combined.
  4. Add the lime juice, rum and mint flavouring, mix well until combined. (At this point taste the icing to check the balance of flavours and adjust by adding more of anything if necessary).
  5. The icing will now be quite runny, so slowly add icing sugar, until the mixture is thick, smooth and creamy.
  6. Spoon the icing into a piping bag with a star nozzle and pipe the icing using a spiralling motion onto the cup cakes in a large swirl.


Decoration:
  1. Sprinkle the coloured sugar over the icing.
  2. Cut the straws down to a miniature size and gently press them into the icing.
  3. Finally, garnish with the fondant lime wedge
  4. You may like to garnish also with a sprig of mint.


Love, Chloe xx


~  Follow me on Twitter @CrumbsCakeBlog